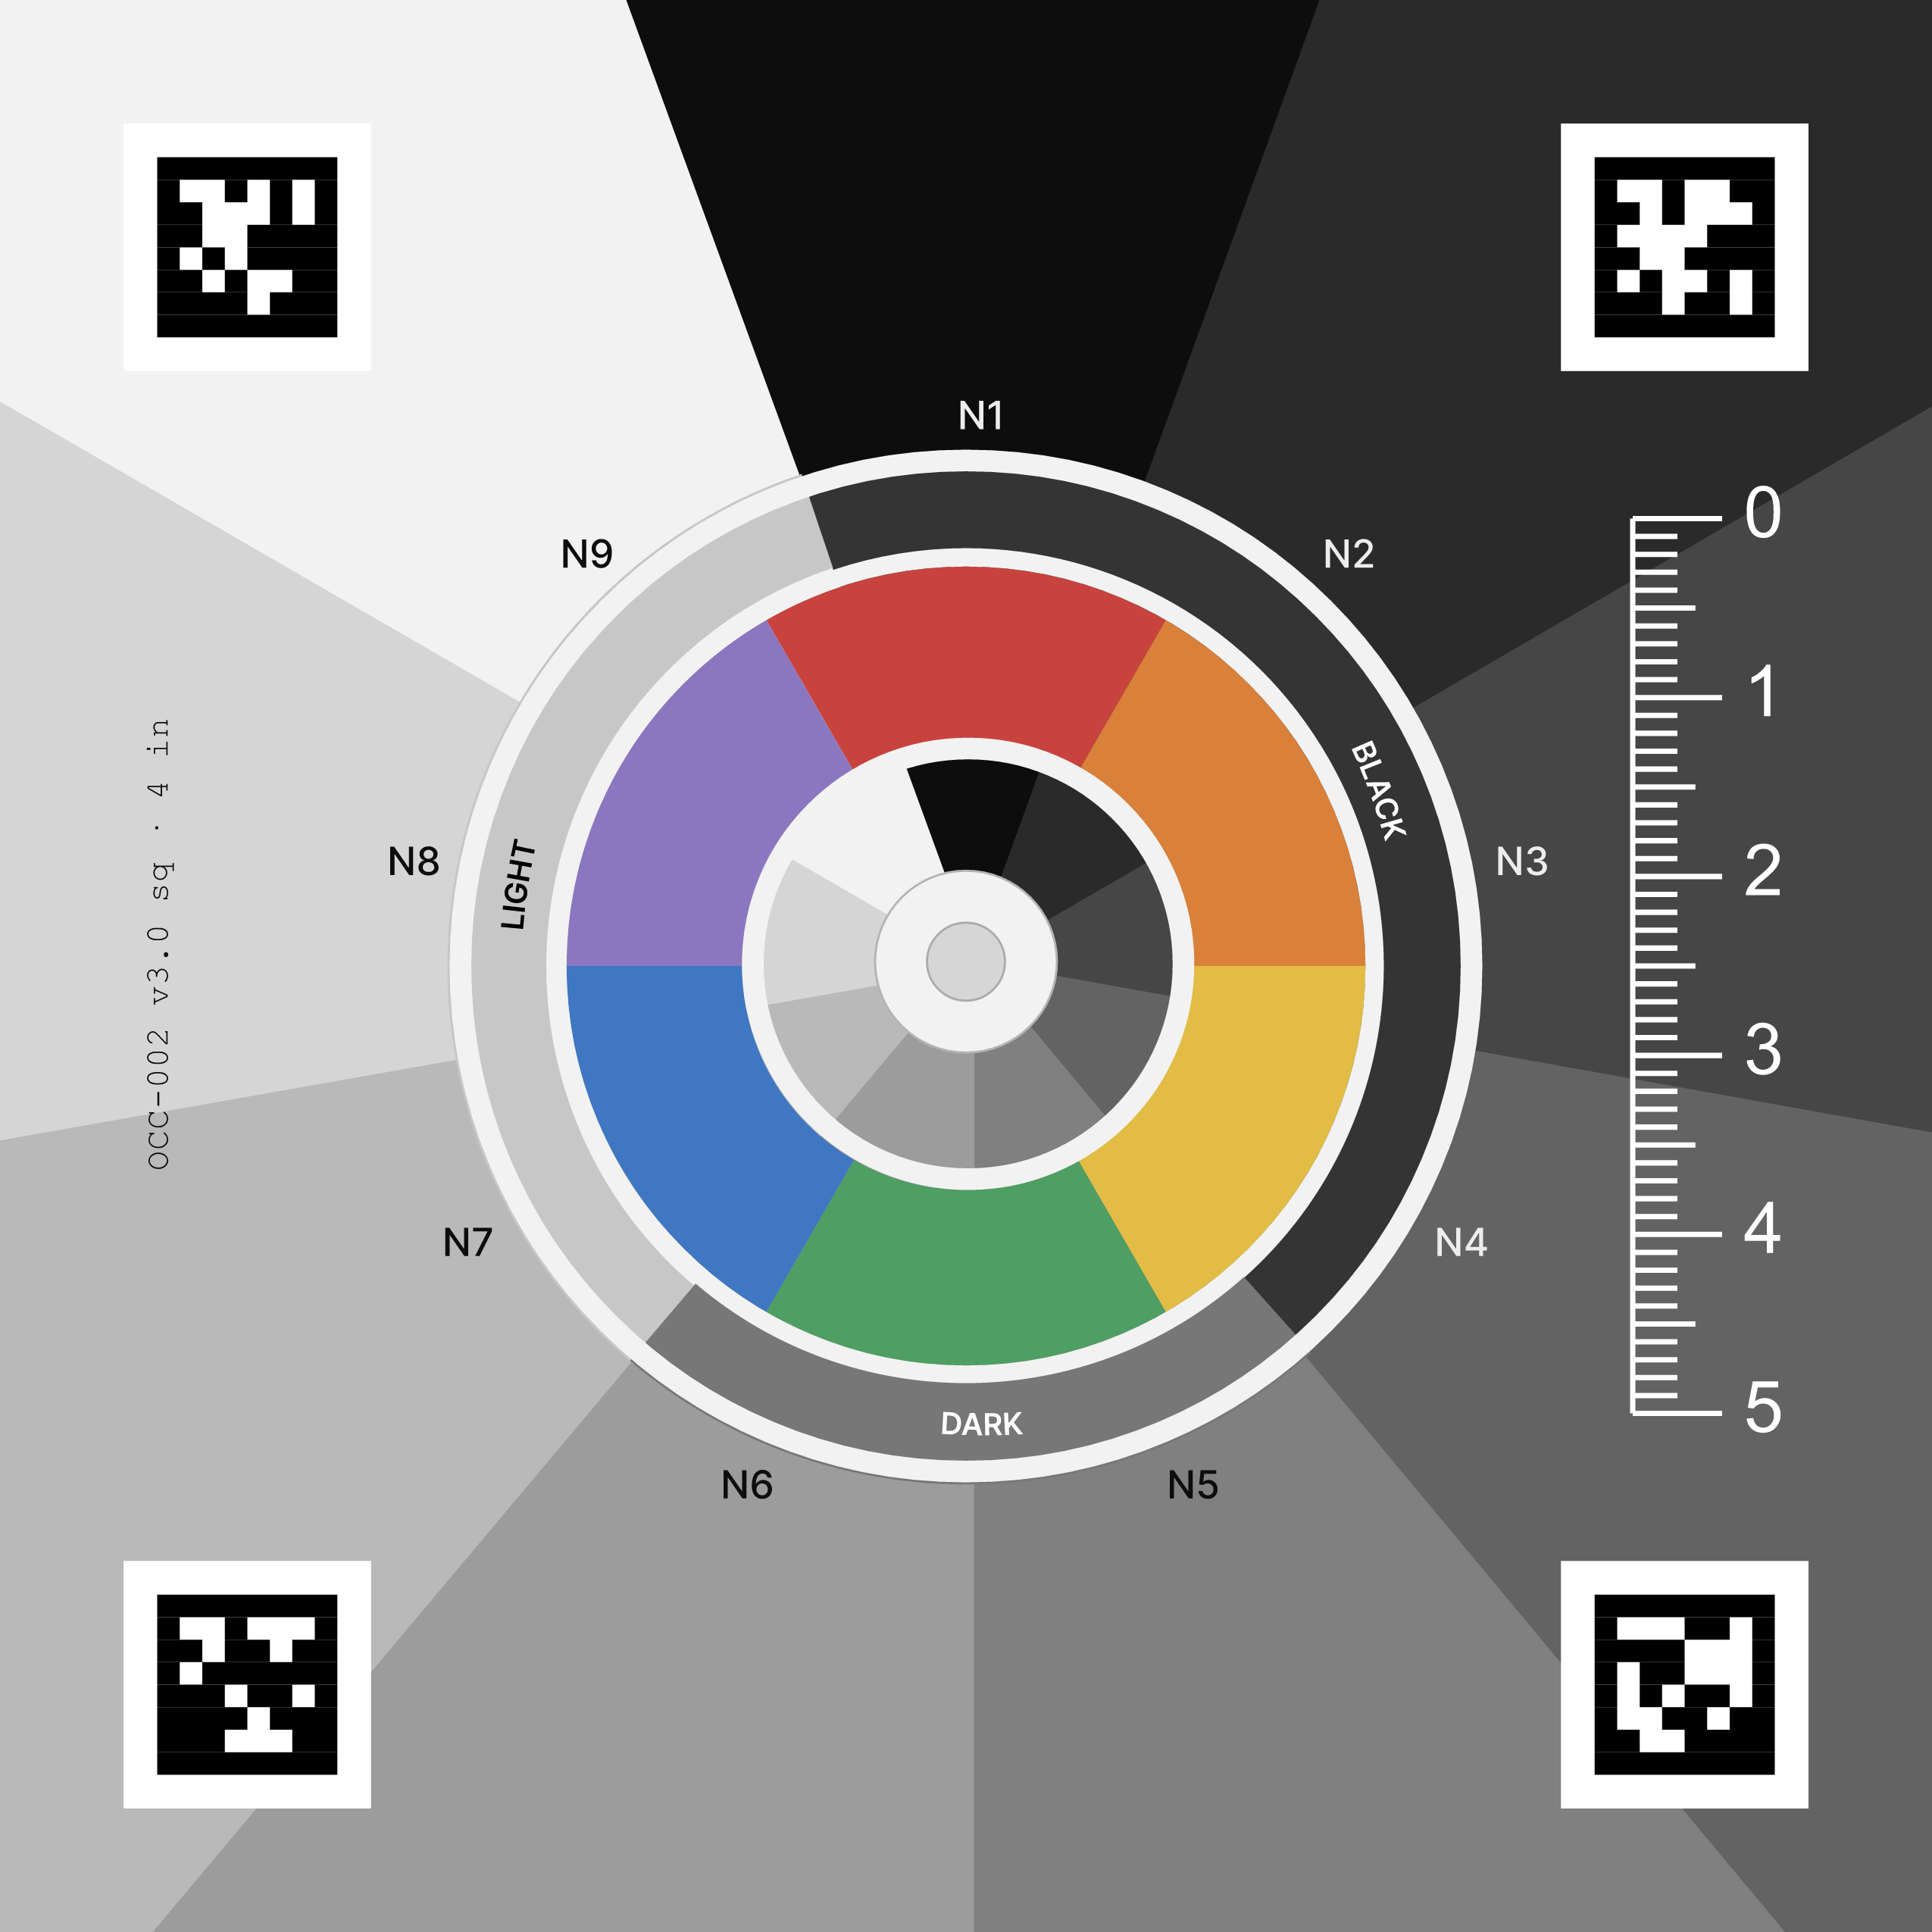
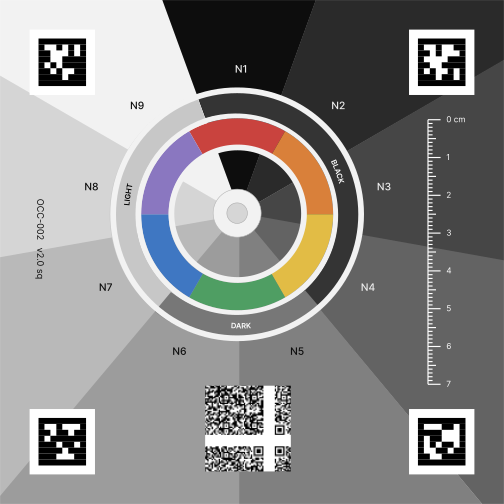
Set your opal in the middle of this card. The app can then measure its true size, and match its darkness and colour to the printed rings.
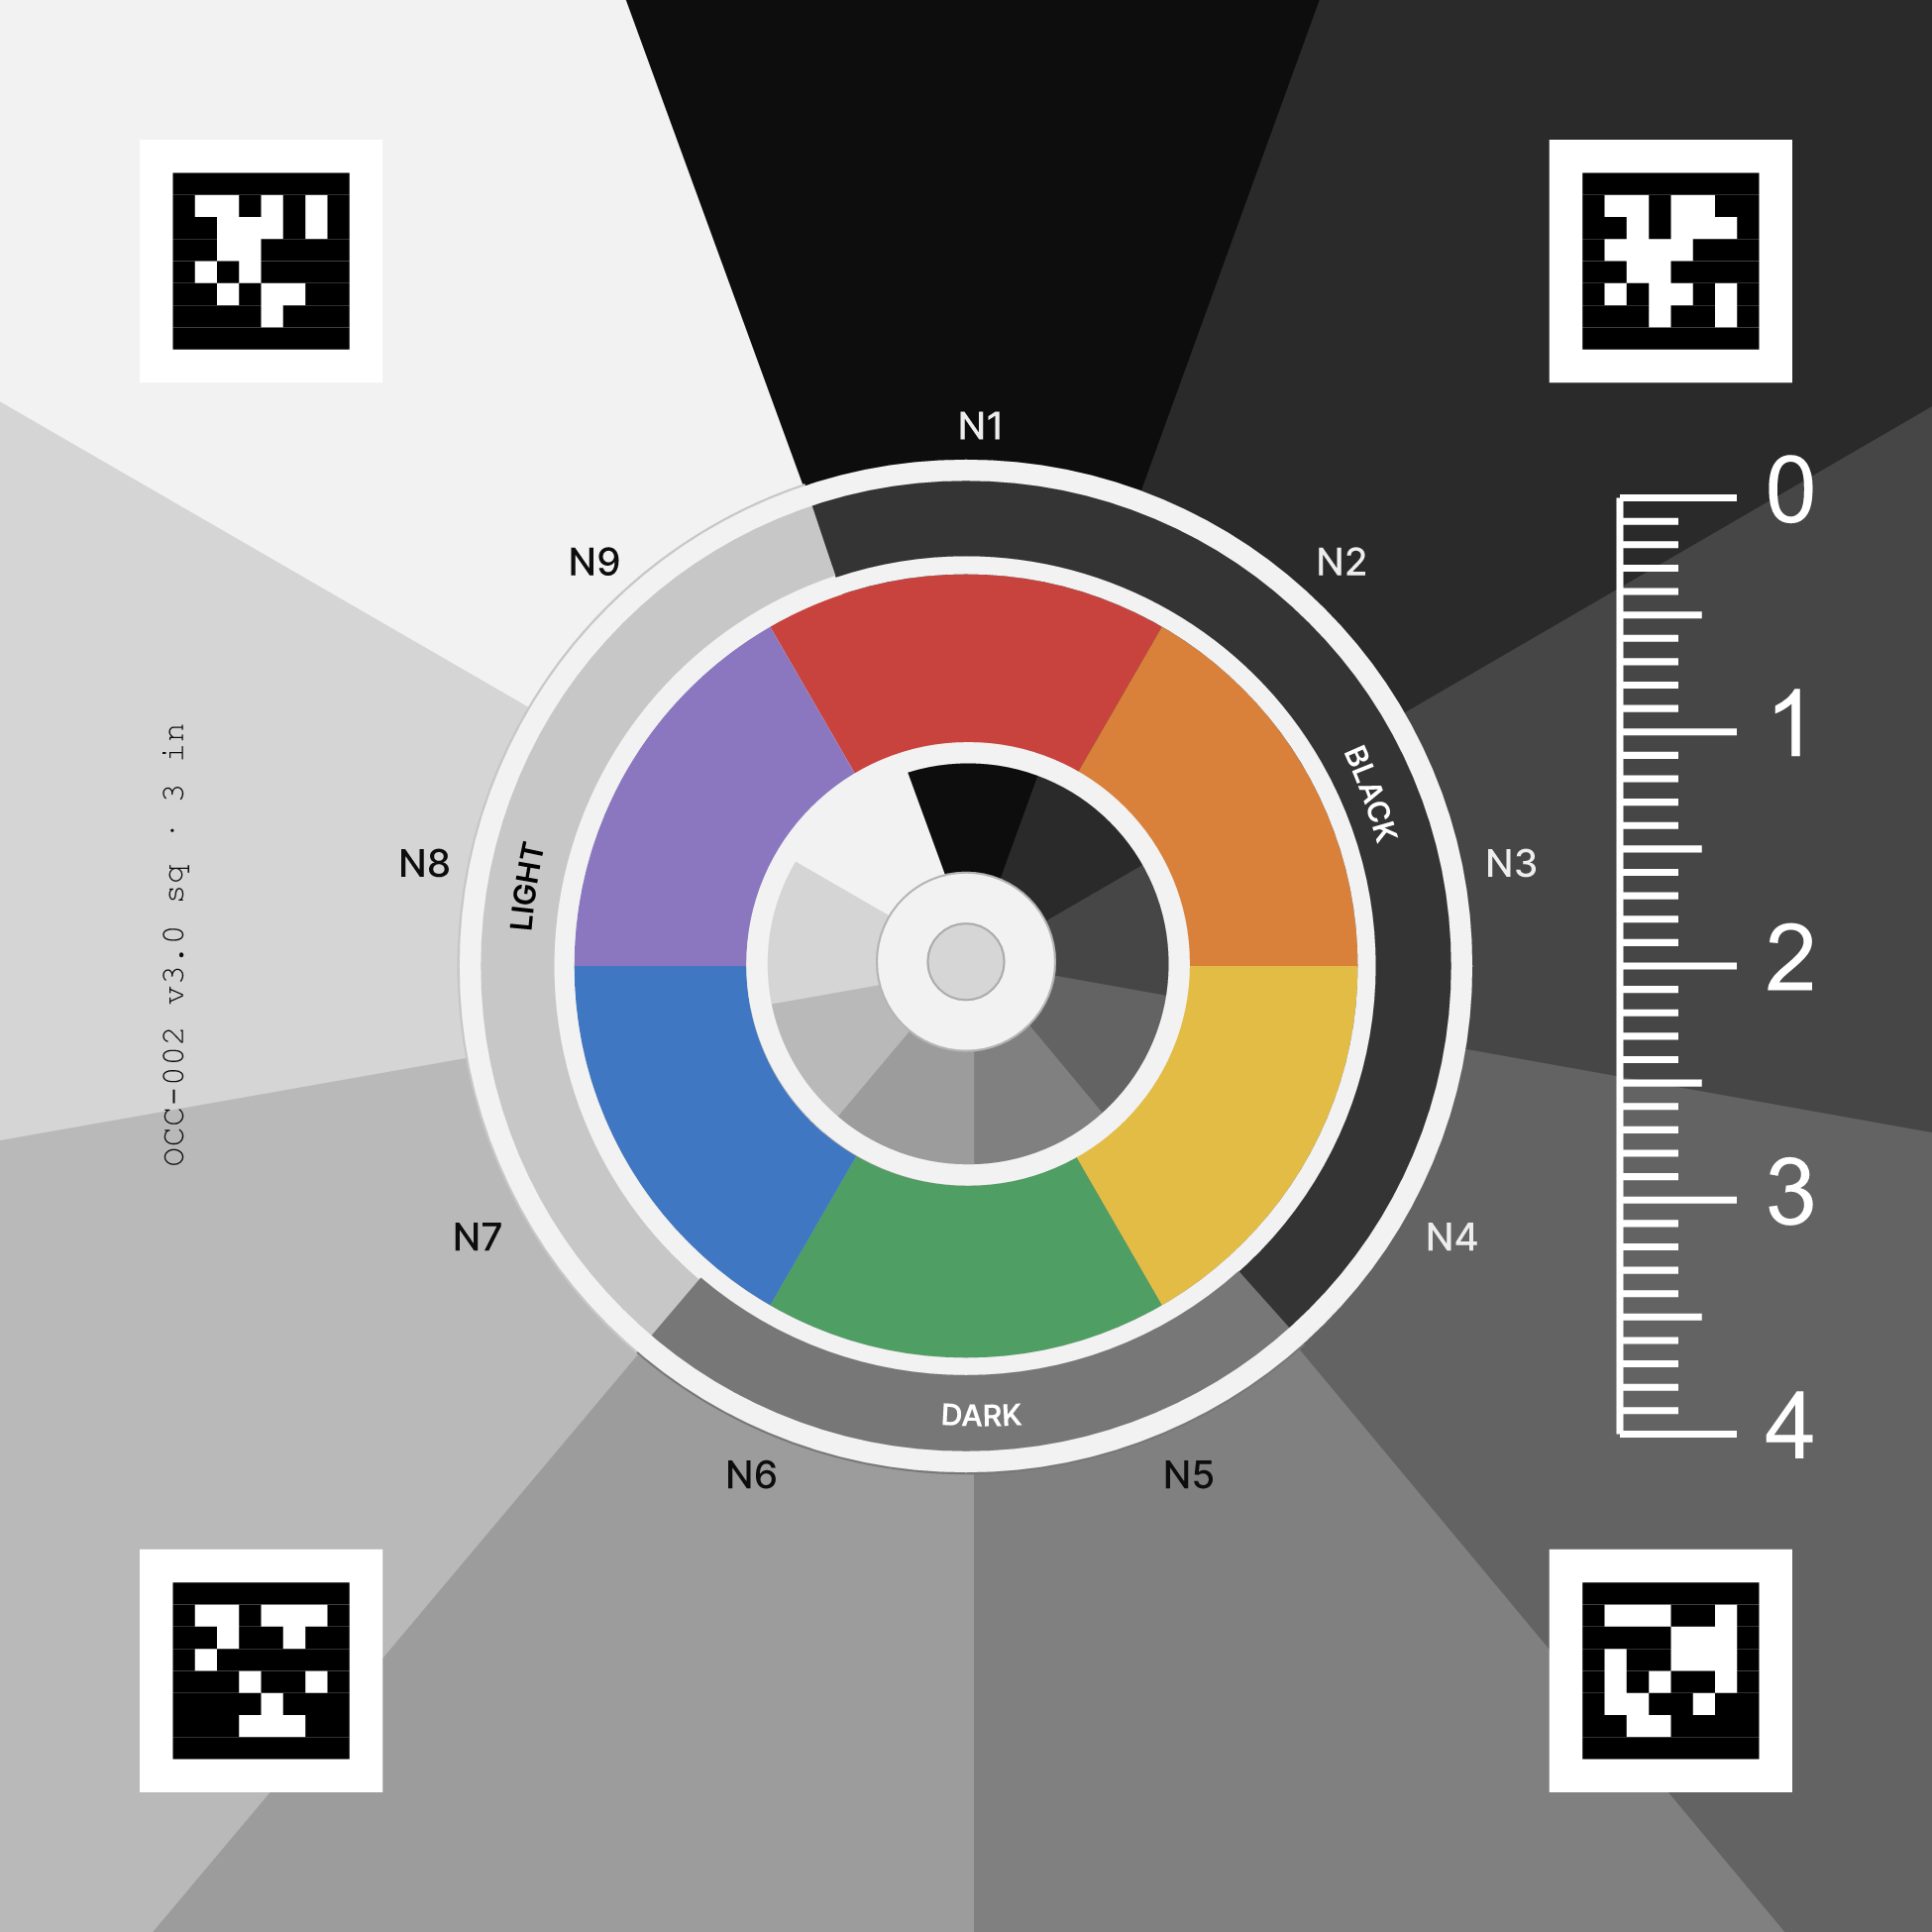 Download the 3-inch card (PDF)
3-inch is the standard size, small enough to keep fully in frame while you turn the stone. Trim along the outer line. Matte paper or card stock, not glossy.
The PDF holds its own page size, so “actual size” prints exactly. The page is smaller than a sheet of paper, which is right. There is a PNG too, at 600 dpi, if your printer prefers an image. Set the scale to 100% yourself, because image viewers often shrink one to fit without saying so.
Bigger stones? The 4-inch card is the same drawing, printed larger. Its ruler runs 0 to 5, and 0 to 5 must measure exactly 5 cm — PNG here. The 5-inch card is no longer updated, and still works if you already printed one.
The back is optional. It holds a QR code back to Opalescent and a care note, and nothing on it is measured, so a front-only card grades just the same. If your printer does both sides, the two-page PDFs put the front first: 3-inch · 4-inch. The two sides do not need to line up. Backs as images: 3-inch · 4-inch.
No card? Scanning still works. The app tells you what it could not measure instead of guessing.